Struggling to connect MetaMask to Avalanche can be frustrating, leaving many users unable to tap into Avalanche’s fast and low-cost transactions. Without this integration, you’re missing out on DeFi, NFTs, and other decentralized applications on the Avalanche network. In this guide, we’ll show you step-by-step how to add Avalanche to MetaMask so you can fully access its ecosystem and start transacting with ease.
KEY TAKEAWAYS
➤ You can easily add Avalanche to MetaMask, but only the C-Chain is compatible. Always ensure your AVAX tokens are on the C-Chain before transferring them.
➤ Adding Avalanche to MetaMask involves just a few steps — install MetaMask, set up a seed phrase, and add the Avalanche C-Chain network using the correct RPC details.
➤ MetaMask makes it easy to switch between networks like Ethereum and Avalanche, allowing you to access multiple blockchains and their respective DApps with just a few clicks.
How to add Avalanche to MetaMask
If you already use the Avalanche network, keep in mind that only the C-Chain wallet is compatible with MetaMask. This means your AVAX tokens need to be in that wallet. On the other hand, you can transfer AVAX to MetaMask from an exchange wallet with C-Chain already integrated, like Binance. Below are the steps to add the Avalanche network to your MetaMask wallet.
Step 1: Install MetaMask to your browser
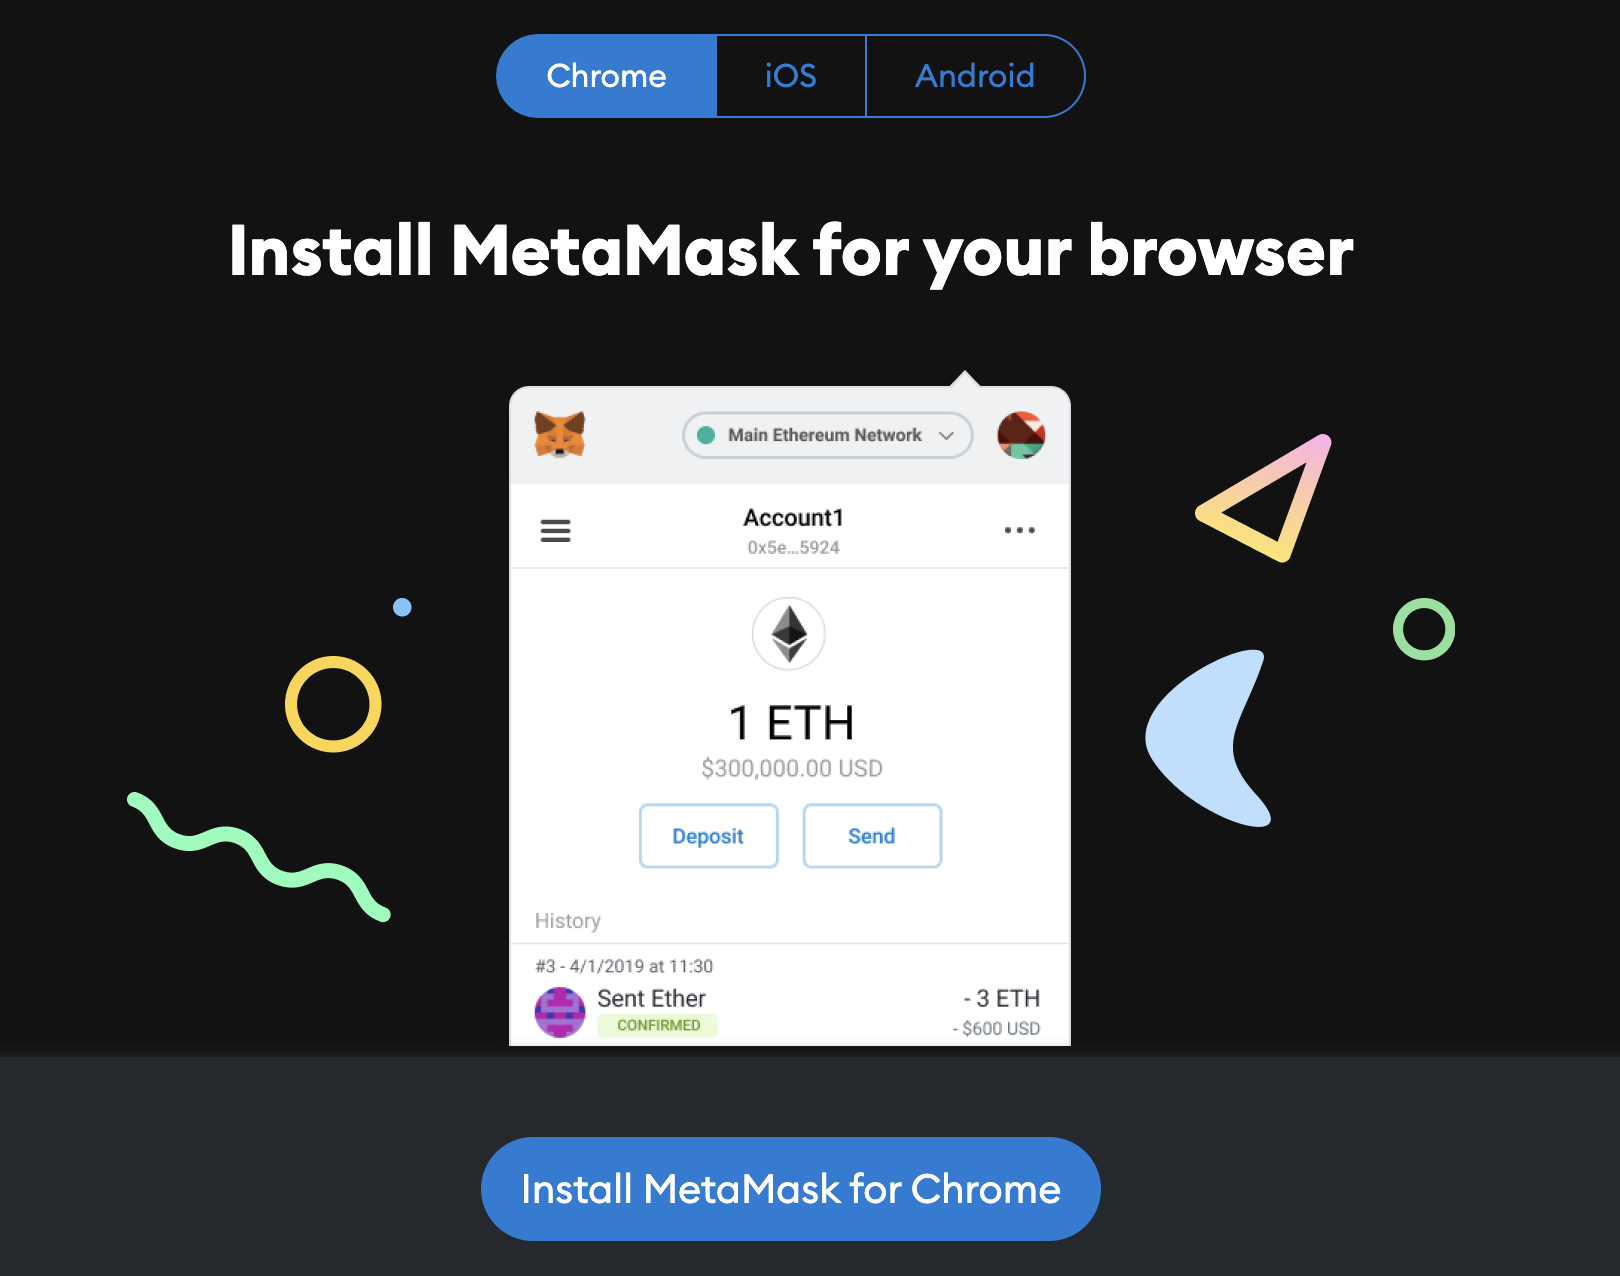
Visit the official MetaMask website to download and install the extension onto your browser. Ensure to download the extension directly from the official URL to avoid being tricked by scams. Next, click on the “Get Started” button and proceed with the on-screen instructions. You can choose between importing an existing wallet or creating a new one.

Step 2: Set up a seed phrase
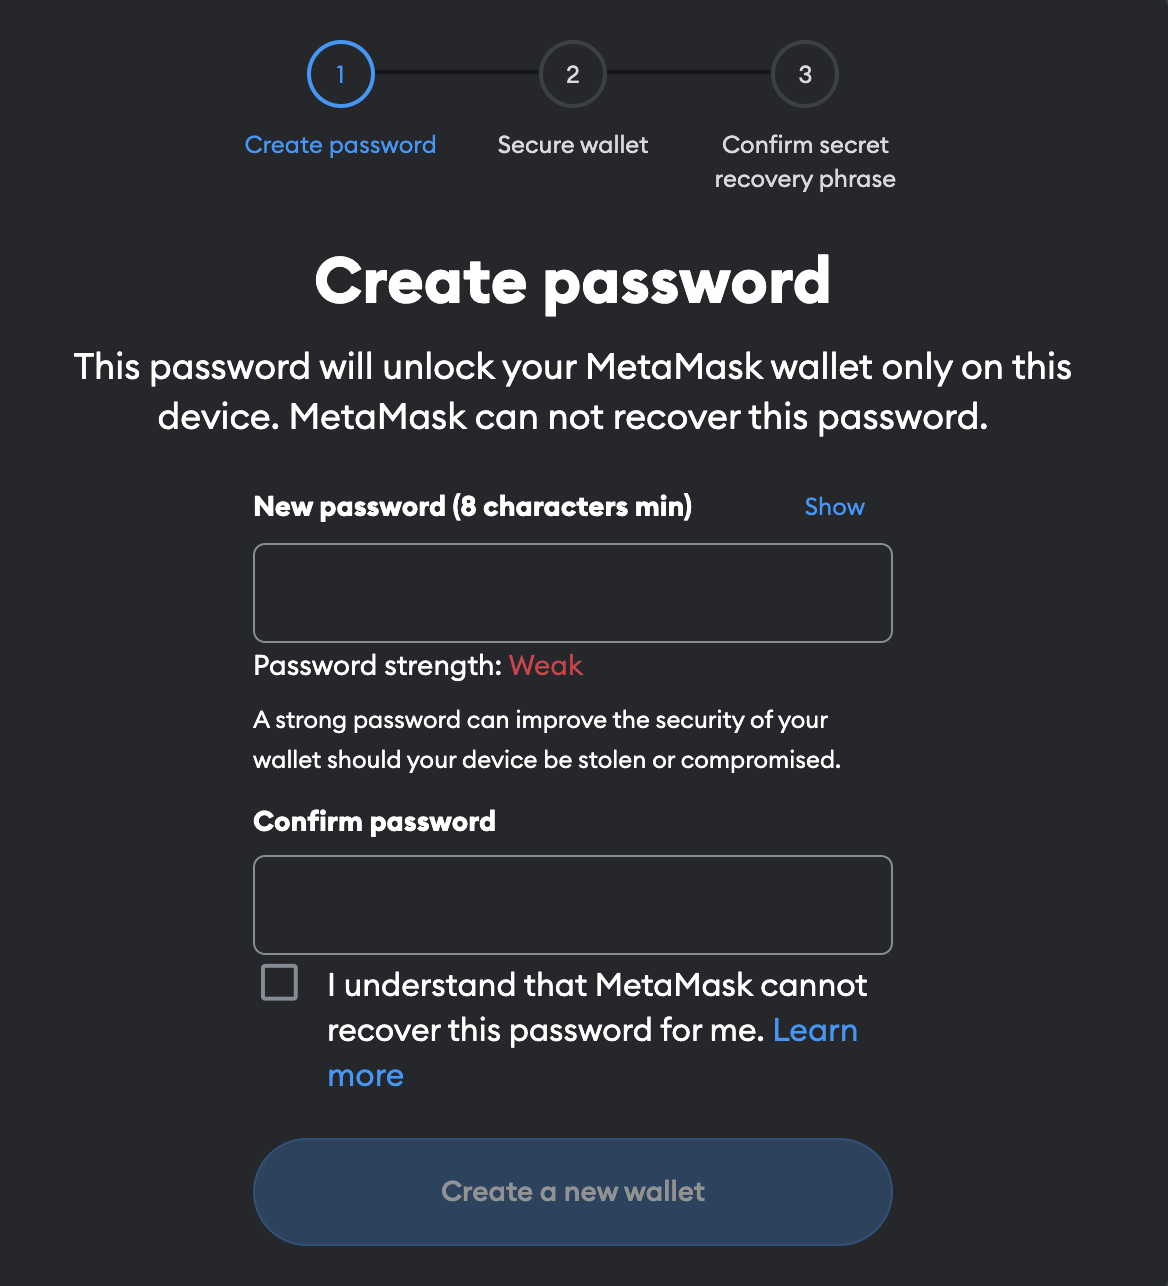
After installing the extension, you must set up a password. Next, create a seed phrase. This functions as another layer of security if you ever get locked out of your account. You can choose to opt out of this step, but remember that having a seed phrase will add an extra layer of protection that may save you from losing access to your funds.
The system will ask you to repeat the seed phrase on the next page. Note that keeping this information in a secure place where no one will see it is crucial. The process will connect your MetaMask directly to Ethereum.

Step 3: Select a network
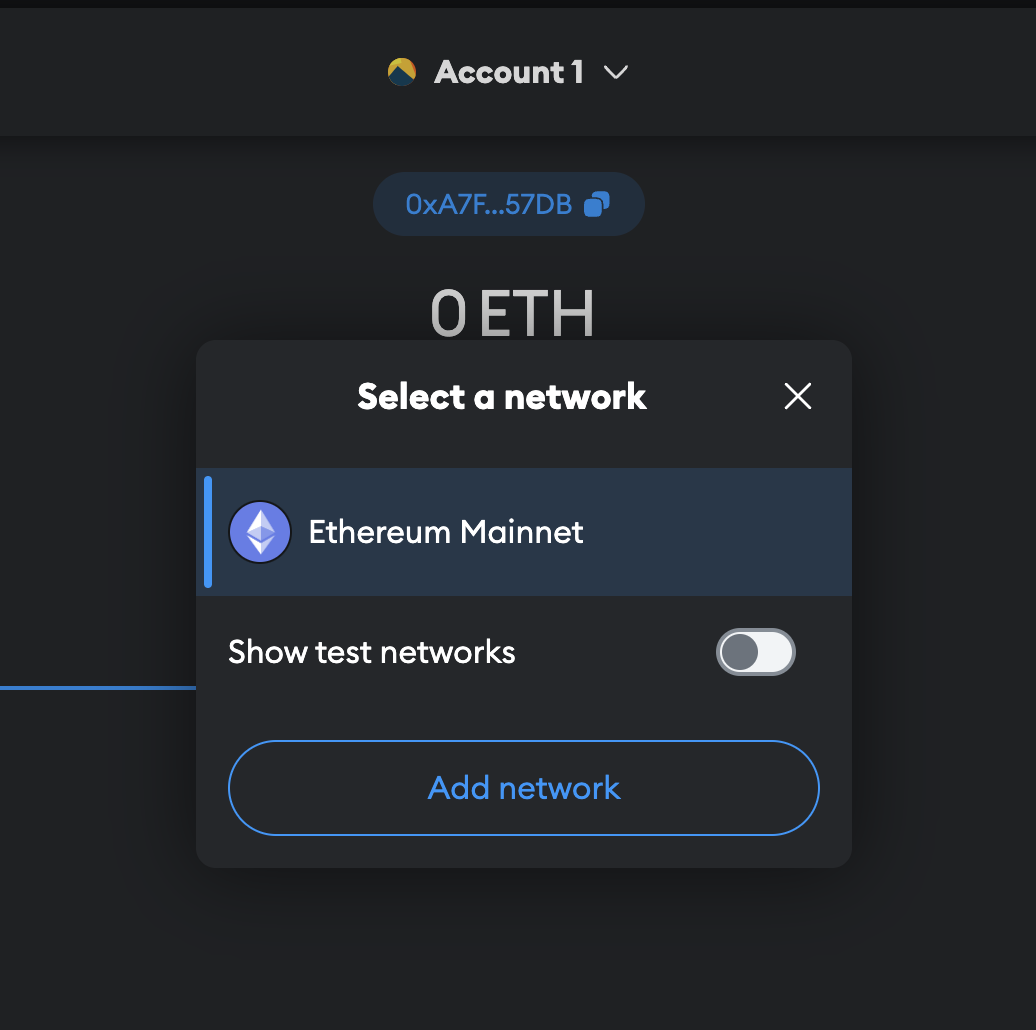
Once your wallet is installed, you can now take advantage of its features. To add Avalanche to MetaMask, look for the Ethereum mainnet drop-down menu. Click on “Add Network” so you can be redirected to the “Add a network” page, where you will need to fill in some data. Next, click on the Avalanche Network C-Chain.

Step 4: Add Avalanche to MetaMask
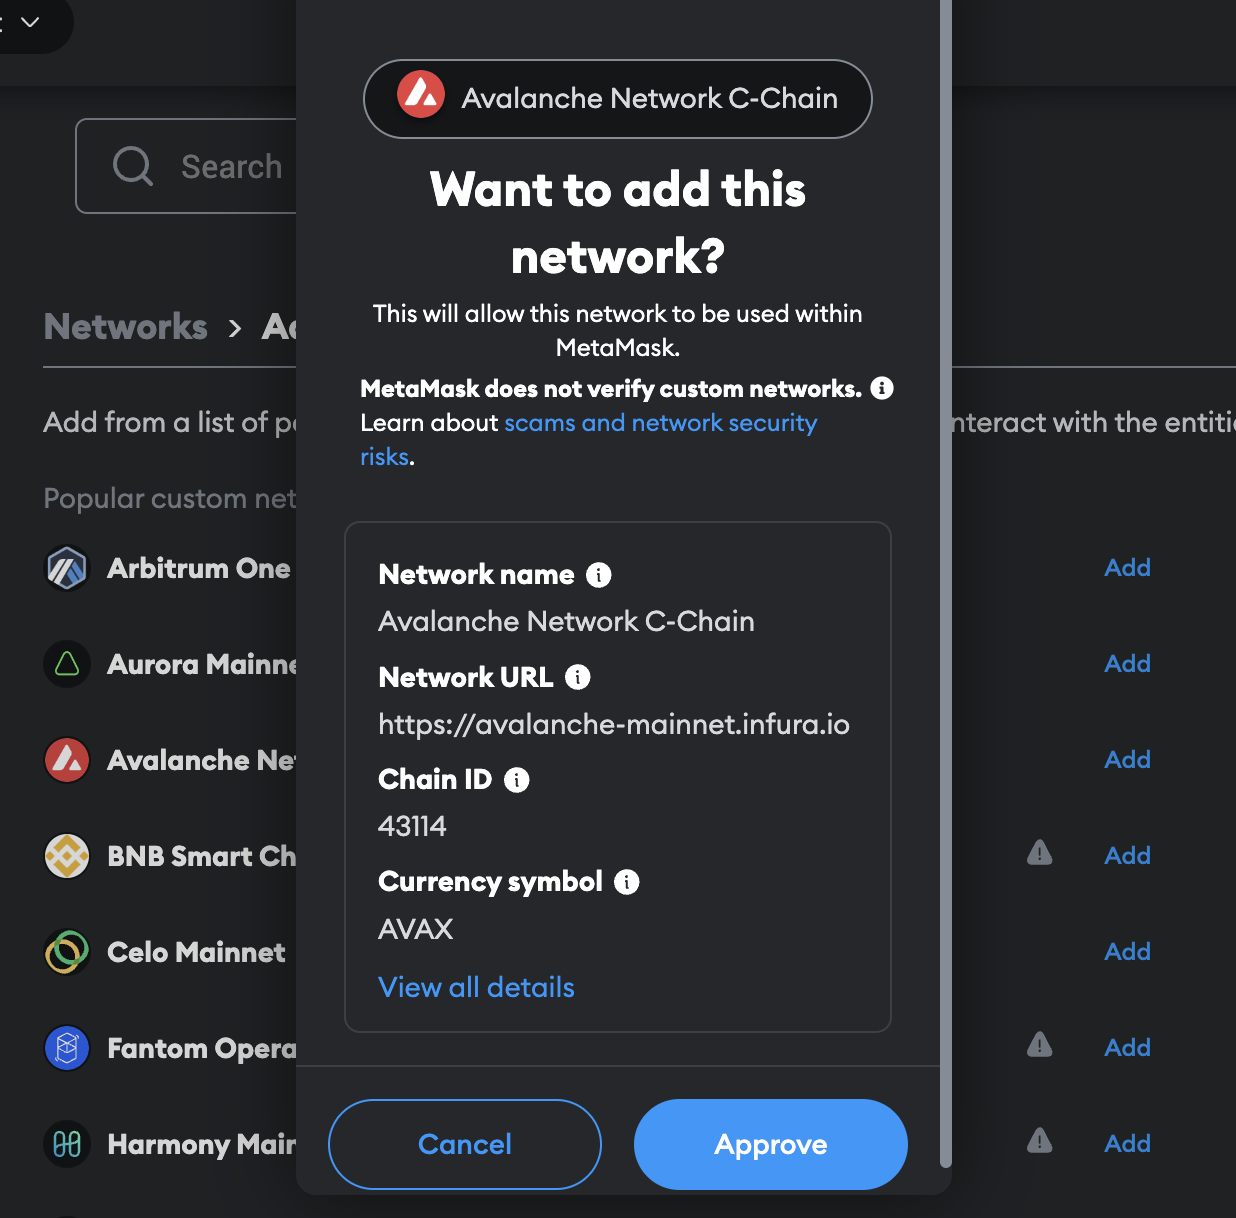
By now, you will see the network details needed for the integration. The screen will show you the Network’s name, URL, chain ID, and currency symbol. Click on “Approve,” and you’re all set. The network should already be added, and you will be prompted to switch to Avalanche Network C-Chain.
If you are doing this in 2024, make sure you check for Browser Compatibility while using MetaMask. Also, occasionally, the RPC URL may change due to network optimizations. It’s good practice to check official Avalanche or MetaMask announcements for any updates to the RPC URL.
Note: If you are being asked to add in Custom RPC, enter the details below:
- Network Name: Avalanche Network
- New RPC URL: https://api.avax.network/ext/bc/C/rpc
- ChainID: 43114
- Symbol: AVAX
- Explorer: https://snowtrace.io/

Does MetaMask support Avalanche?

As demonstrated in this guide, MetaMask does support Avalanche. One of MetaMask’s key features is its ability to connect to various blockchains, including Avalanche, which offers lower fees and fast transactions via its DeFi platform. MetaMask also supports networks like BNB Smart Chain and Polygon (MATIC).
MetaMask is one of the most popular cryptocurrency wallets in the web3 space, available as a browser extension or as an app for Android and iOS.
Non-custodial wallets will play a crucial role in shaping the future of web3 after all the chaos we have witnessed with centralized players. A browser extension becomes a vital interface for users to interact with multiple chains, DeFi, and NFT DApps.
Ravindra Kumar, founder and CEO of Frontier Wallet: BeInCrypto
Did you know? In 2024, MyCrypto CEO Taylor Monahan claimed that a multiple-wallet hack was a MetaMask-specific exploit. Apparently, an attacker withdrew $10 million worth of ETH from different addresses across multiple blockchains. MetaMask has since denied the claims.
MetaMask-supported browsers include:
- Chrome
- Firefox
- Opera
- Brave
- Edge
Avalanche aims to revitalize its network and foster a stronger DeFi ecosystem. According to Messari, Avalanche had 60,000 daily active addresses, up from around 25,000 at the beginning of 2024.
What is the difference between C-Chain and X-Chain on Avalanche?
Avalanche operates two main chains: C-Chain and X-Chain. The X-Chain, or “exchange” chain, manages the trading of crypto assets and uses Avalanche Consensus. The C-Chain, or “contract” chain, supports decentralized applications (DeFi) and smart contracts.
The key difference is that the X-Chain does not support DeFi and cannot connect to MetaMask, while the C-Chain can be added to MetaMask and uses the Ethereum address format (starting with 0x).
Using Avalanche network with MetaMask
There are plenty of ways to take advantage of MetaMask’s integration with Avalanche. You can start sending and receiving AVAX tokens or interact with the network’s DApps.
Sending and receiving AVAX tokens
You can send your AVAX tokens from an Avalanche wallet to MetaMask quite easily once you’ve added the network. Again, keep in mind that only the C-Chain is compatible with the MetaMask wallet, so always make sure you’re not using the other chains. To do this:
- Log into your Avalanche wallet and check which chain your balance is in. (For example, if your AVAX tokens are in your X-Chain wallet, transfer them to your C-Chain wallet before sending them to MetaMask)
- Click on “Cross Chain”
- Select C Chain
- Add the transfer amount
- Click on “Send” from the wallet menu, selecting C as the source chain
- Go to your MetaMask wallet copy the address, and enter it into the “send” field from your Avalanche wallet
How do I switch networks in MetaMask?
Switching between networks in MetaMask is straightforward. Once you’ve successfully followed the steps on how to add Avalanche to MetaMask, switching to other networks or back to Avalanche is simple:
- Log into MetaMask and look at the top of the display screen to see the current network (MetaMask defaults to the Ethereum mainnet).
- Click the dropdown menu next to the network name to view the list of available networks.
- Select Avalanche Network C-Chain from the list to switch back to Avalanche.
Adding networks to MetaMask is simple
With the MetaMask wallet’s multi-chain functionality, you can easily add a network, integrate its varied features, and swap tokens. If you were wondering how to add Avalanche to MetaMask, now you can do so without wasting any time or resources. Remember to always follow crypto wallet security best practices.

