
Buying XRP (Ripple) on Trust Wallet is a straightforward process that even crypto beginners can handle with ease. Trust Wallet’s built-in Buy feature lets you purchase XRP directly with fiat currency (like USD, EUR, or INR) using integrated providers such as MoonPay or Simplex. In this guide, we demonstrate how to buy XRP on Trust Wallet using available payment methods — without needing to swap from other cryptocurrencies. Let’s get started.
KEY TAKEAWAYS
➤ Trust Wallet is a non-custodial mobile wallet that lets you store and manage cryptocurrencies securely.
➤ Buying XRP on Trust Wallet is beginner-friendly and takes just a few steps within the app.
➤ All fiat purchases on Trust Wallet are handled through regulated third-party payment providers like MoonPay or Simplex.
➤ Trust Wallet does not charge fees itself; purchase fees come from the third-party provider you select.
How can you buy XRP directly with fiat in Trust Wallet?
In a nutshell:
- Download and set up Trust Wallet, then enable XRP from the token list.
- Tap “Buy,” select XRP, and enter how much you want to purchase in fiat or crypto.
- Pick a third-party provider like MoonPay or Simplex and review their fees and payment methods.
- Complete KYC by submitting your ID and payment details (e.g., card, bank transfer).
- Confirm the transaction and wait for XRP to arrive in your Trust Wallet—usually within minutes.
Below, the cover each step in a little more detail.
You can purchase XRP in Trust Wallet by paying with a credit/debit card or other fiat methods through integrated providers.
This method uses third-party payment services built into the app, so you can buy XRP with dollars, euros, or other currencies. It’s convenient for newcomers because it feels similar to a regular online purchase.
That said, keep in mind these providers charge fees and usually require identity verification (KYC) for compliance. Here’s how to buy XRP in Trust Wallet using fiat, step by step:
1. Install and open Trust Wallet
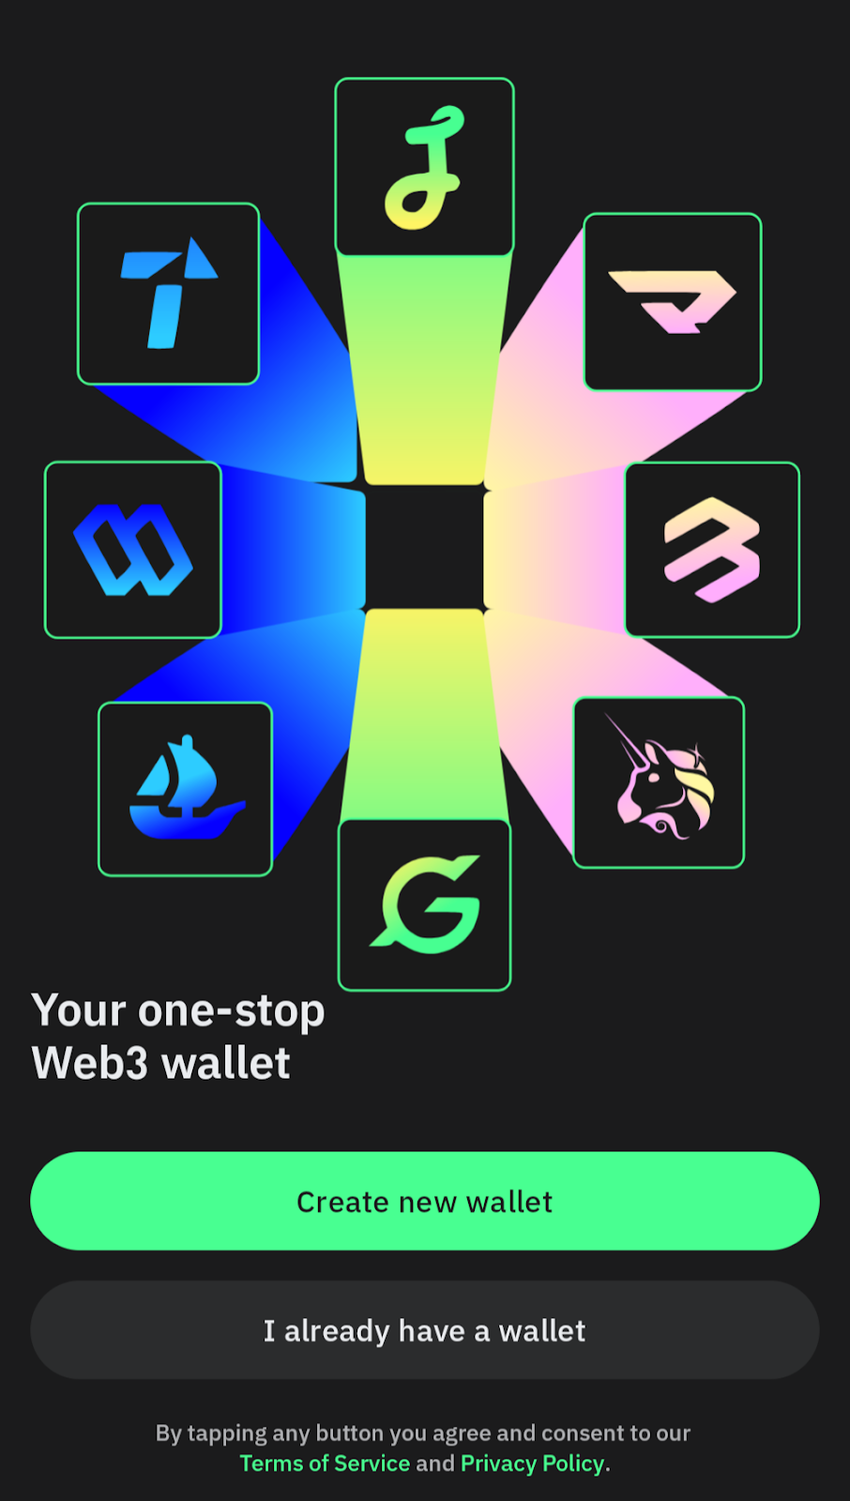
If you haven’t already, download Trust Wallet for your device and create a wallet. Assuming you are new to Trust Wallet, tap/click on “Create new wallet.”
Next, you will be asked to set up a six-digit passcode to lock and unlock your wallet. Note that you can also unlock the wallet with biometrics (such as fingerprint unlock) if the option is enabled on your device.
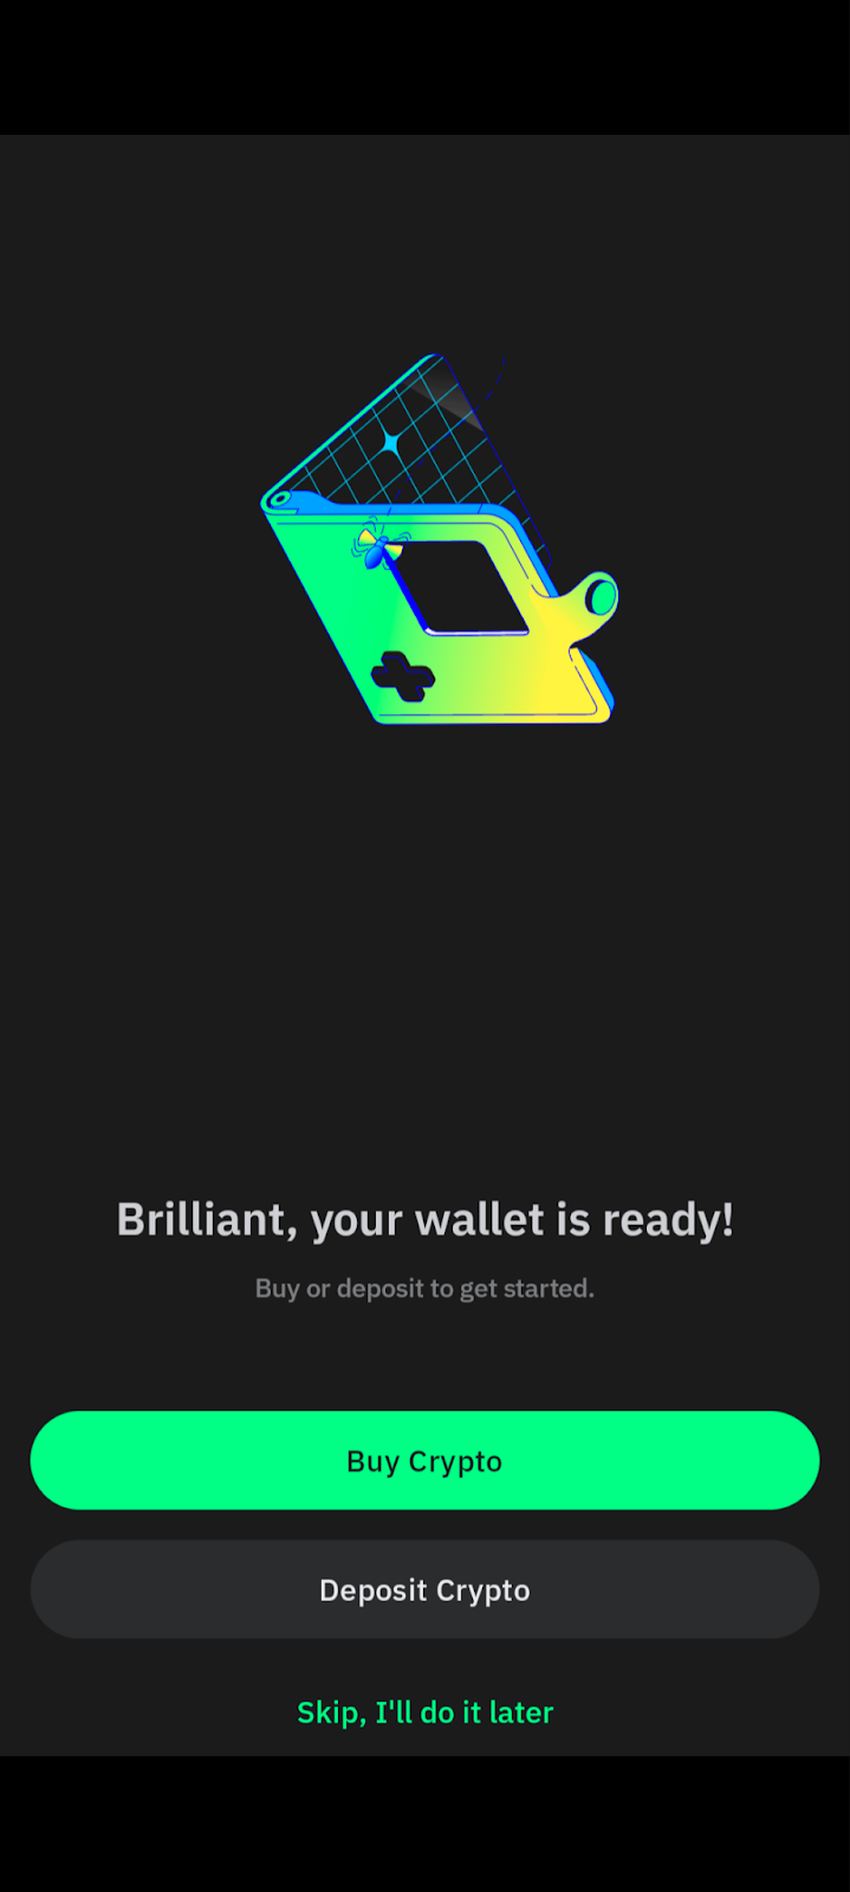
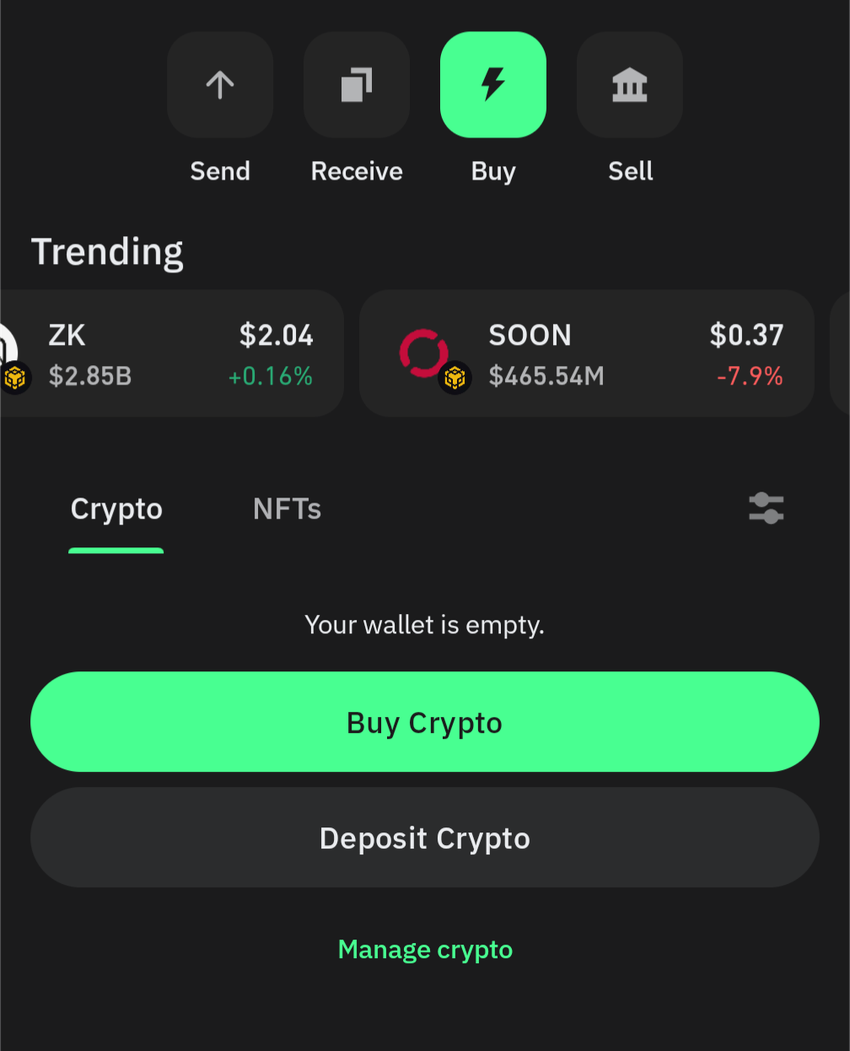
Once you set up your passcode, you get to a welcome screen with the options to buy or deposit crypto.
However, you can skip these steps right now and move on to securing and backing up your wallet (which, by the way, is a standard practice BeInCrypto highly recommends).
So, as we mentioned above, let’s secure your wallet first before buying any crypto.
2. Secure your wallet
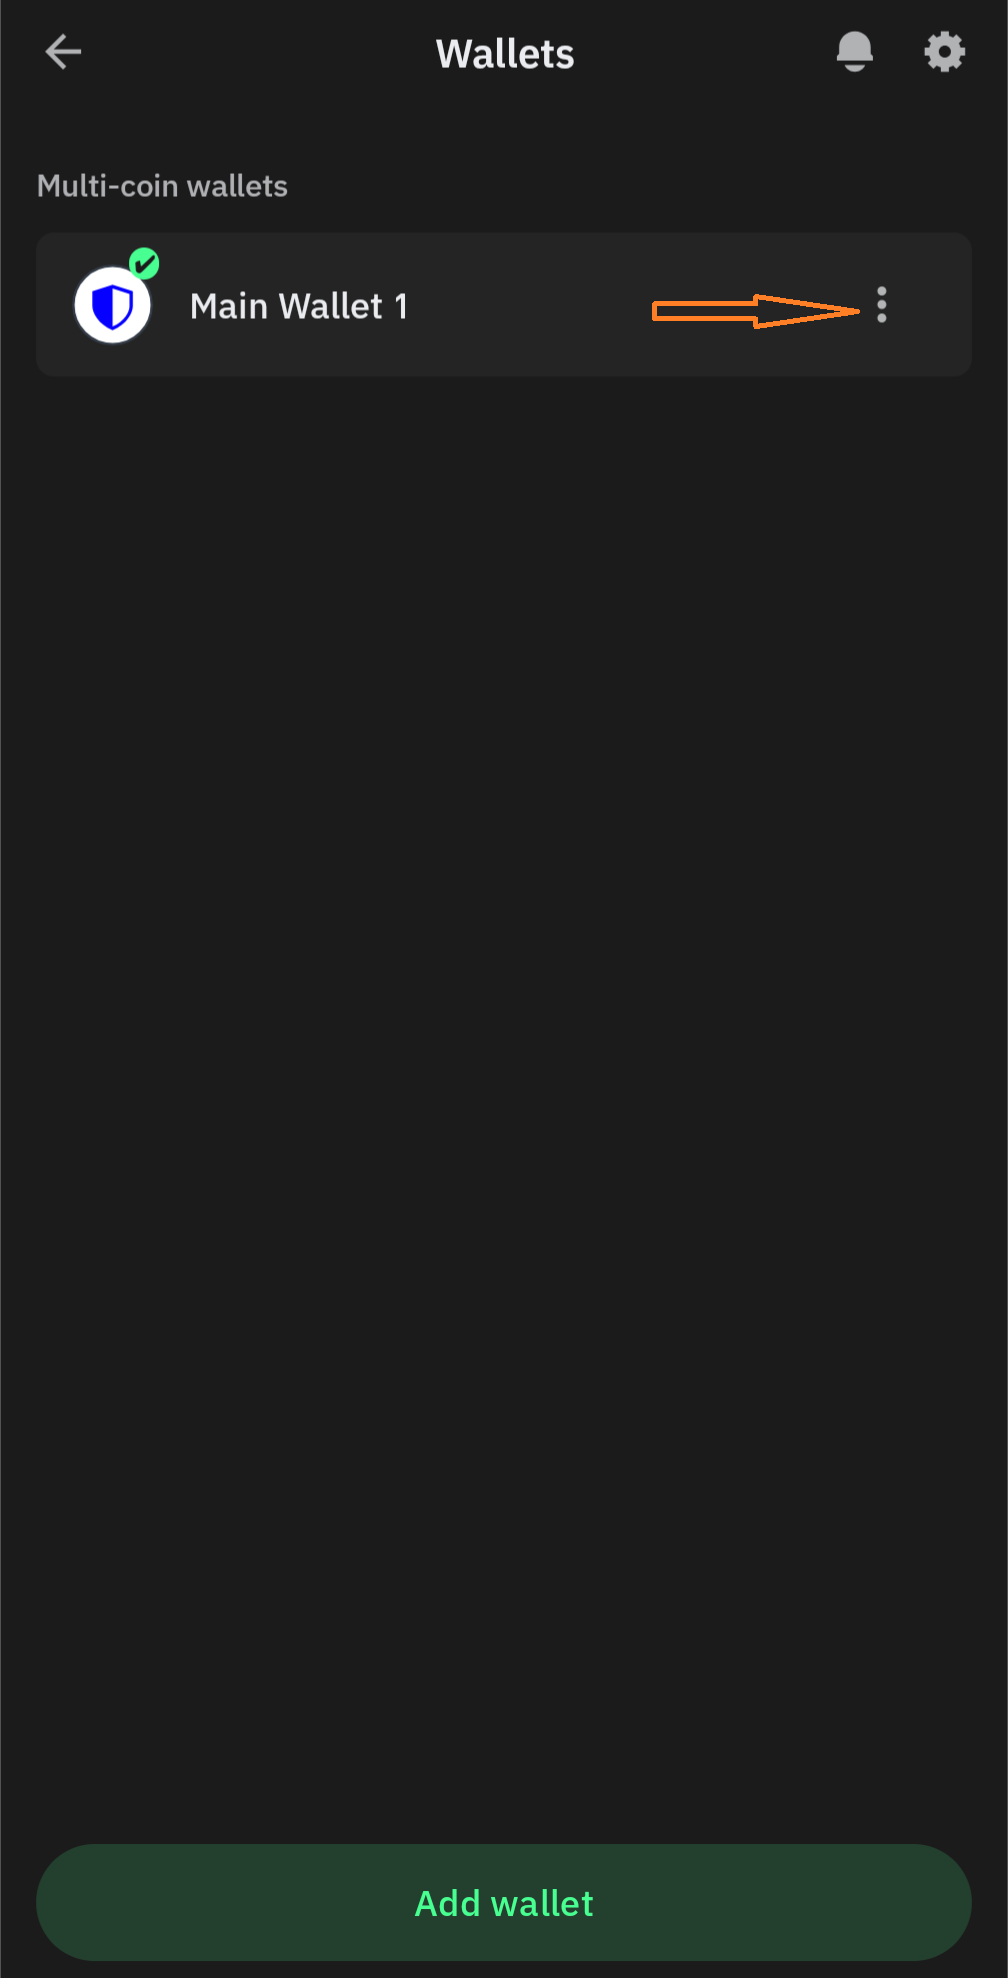
So, there are two ways you can back up and secure your newly created wallet. It usually appears as “Main Wallet” or “Main Wallet 1”. You can find it towards the top of the interface of the “Home” section of the app.
Next, select the wallet and tap on the corresponding dotted line, as shown in the image below.
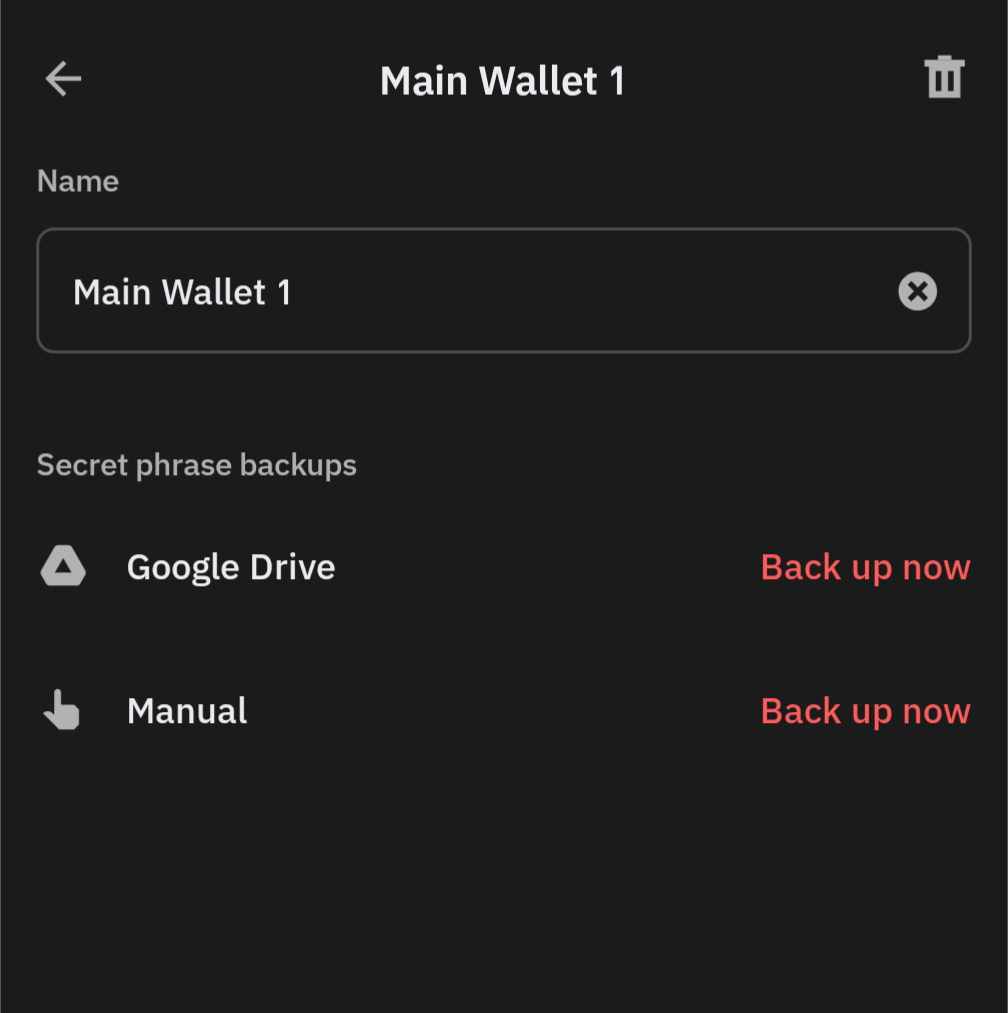
Here, you will see two options: 1) backing up with Google Drive and 2) manual backup.
Backing up with Google Drive: If you opt for the former, your 12-phrase secret key will be backed up to your Google Drive account. To do that, you first have to connect the wallet to your Google account and then set up a strong password to encrypt your 12-phrase secret key.
Note that you must not forget this password at any stage from now on. Losing this password means you can no longer retrieve your secret phrase, which in turn, means you may permanently lose access to your funds.
Manual backup: When you opt for manual backup, the app shows you a 12-word recovery phrase. Write it down and store it somewhere safe — preferably offline and inaccessible to anyone else.
Remember, losing this phrase or exposing it to someone is worse than misplacing your credit card credentials. That’s because, with a credit card, you at least have the option to block it before any real harm is done.
But, if someone gets access to your wallet key, they can drain your entire balance instantly. There’s no way to recover those funds if that happens.
Also, don’t forget that Trust Wallet doesn’t have access to your secret key and can’t help you reset it in case you forget or lose it.
3. Go to the “Buy” section
Now that you have secured your wallet, it’s time to buy some XRP. Head back to the Home section of the interface and tap on “Buy crypto”.
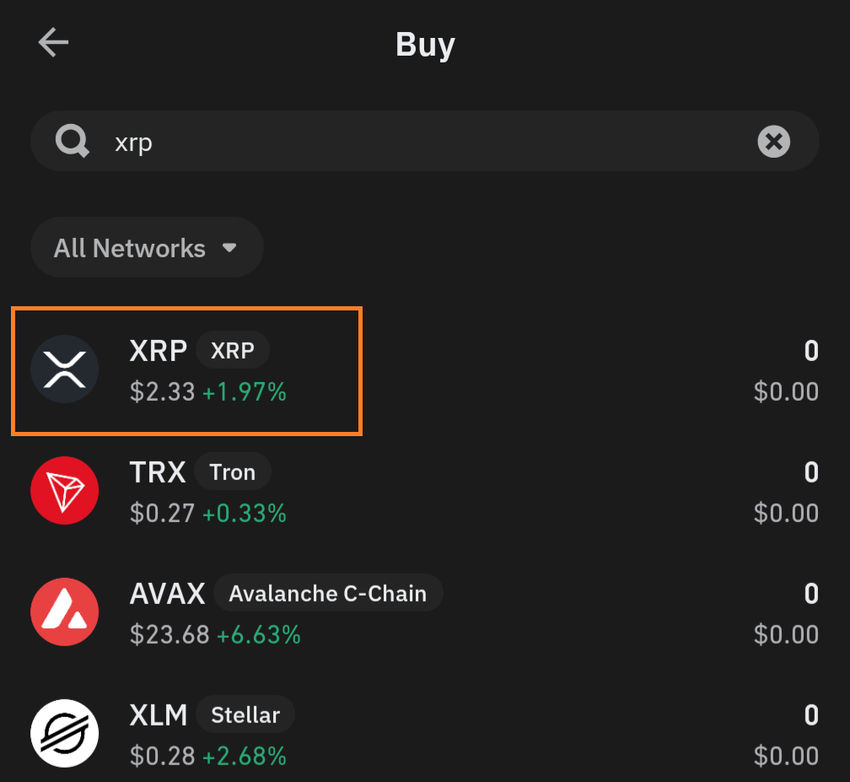
Next, enter an amount and then find XRP from the list of cryptocurrencies available. This tells the app you want to buy XRP directly.
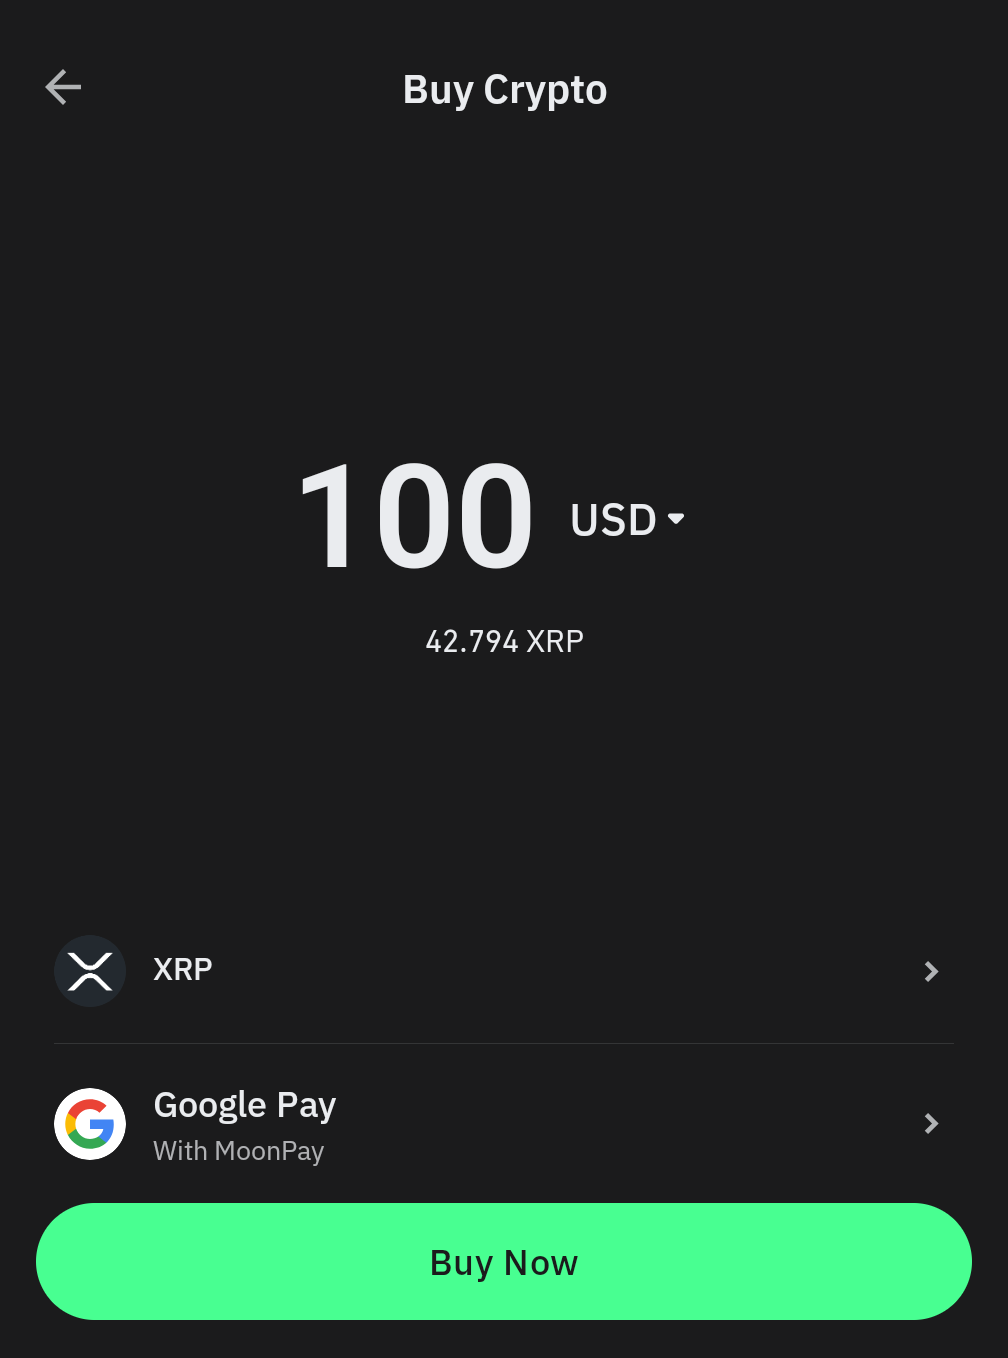
4. Confirm the purchase amount
Once again, specify how much XRP you want or the amount of fiat currency you want to spend.
For example, you might enter $100 or an equivalent in your local currency. The app will show an estimate of the XRP you will receive. Remember that the XRP Ledger requires a small reserve (currently 1 XRP) to activate a new address.
5. Choose a payment provider
Trust Wallet will display one or more third-party provider options (such as MoonPay, Simplex, etc.) along with their rates and fees.
Select a provider that works best for you — you might see differences in fees or payment methods offered. When you continue, the app redirects you to the provider’s secure payment page.
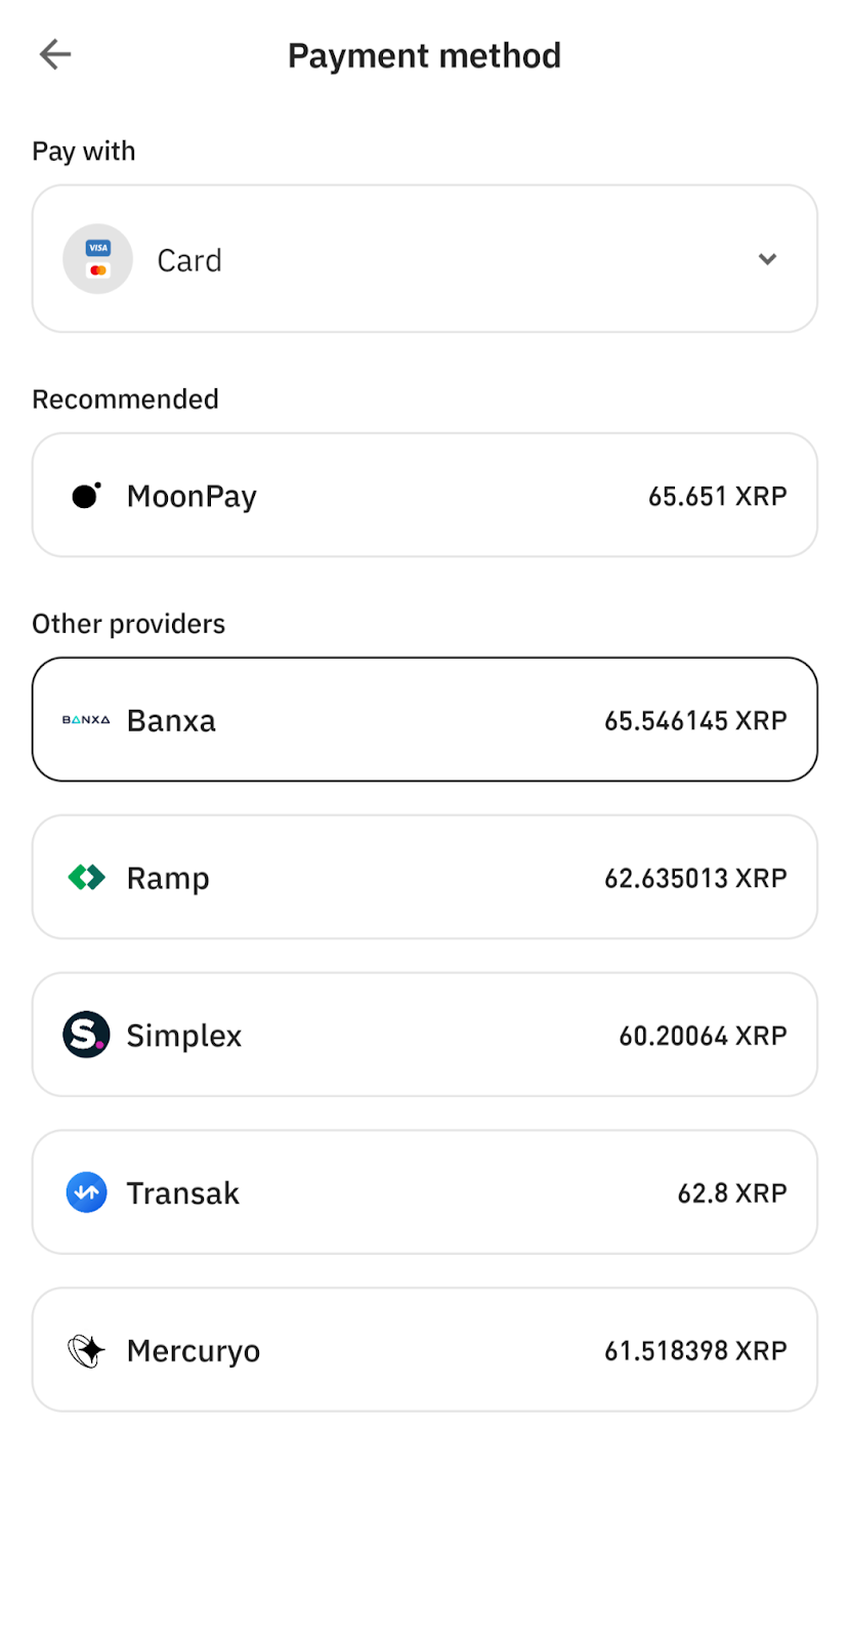
For this demonstration, we have opted for Moonpay.
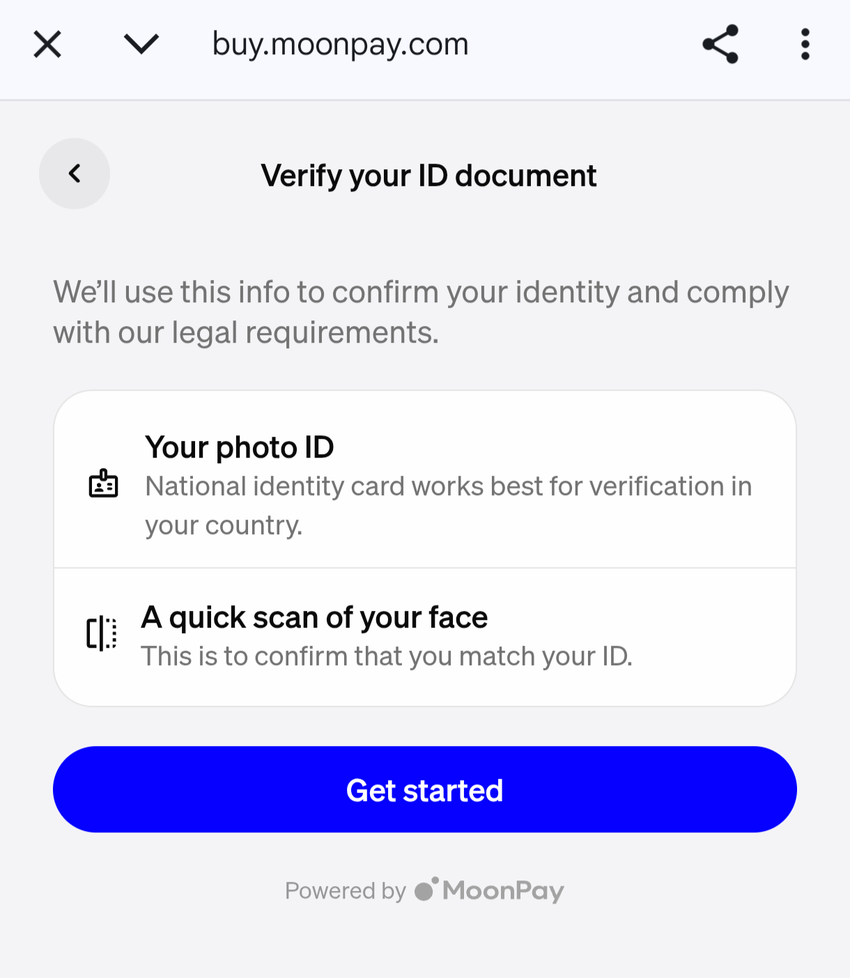
6. Complete KYC and payment details
Follow the provider’s instructions to purchase. If it’s your first time, be prepared to verify your identity by providing details like name, ID, and possibly a selfie (this is a standard Know-Your-Customer procedure).
Enter your credit/debit card information or choose another payment method available (some providers support bank transfers, Apple Pay, etc.).
And finally, review the order before confirming. You will see the provider’s fee and the network fee for delivering XRP to your wallet. These services typically charge about 2–5% of the transaction as a fee, which is the cost of convenience.
If everything looks good, authorize the payment and wait for the XRP to appear in your wallet.
Important: Trust Wallet itself does not charge any extra fees for this service – the fees come from the third-party provider handling the purchase. If you run into any delays or issues (for example, if buying is not available in your region), the app may show an error.
This could mean the provider doesn’t operate in your country or has temporarily paused XRP sales.
In such cases, you can try a different provider or time. Also note that for first-time buyers the identity verification can take a bit of time. However, once you’re approved, future purchases are quicker.
How do you sell or cash out from Trust Wallet?
Trust Wallet does not currently have a built-in feature to directly sell XRP for fiat (cash) and send the money to your bank. That said, if you want to cash out, there are a couple of options:
➤ Transfer to an exchange: You can send your XRP from Trust Wallet to a cryptocurrency exchange that supports XRP trading (for example, Binance, Kraken, or Coinbase). On the exchange, you can sell the XRP for fiat currency (like USD or EUR) and then withdraw the money to your bank account.
Always double-check the XRP deposit address and destination tag before sending.
➤ Use a selling service: Some of the same providers that let you buy crypto can also facilitate selling. For instance, MoonPay has an off-ramp service that allows you to sell XRP for fiat and get the money in your bank or on your card. This usually works by sending your XRP to a provided address given by the service, and they then transfer the fiat to your bank or card.
In either case, expect some fees when converting XRP to cash (network fees and service fees). It’s wise to only move funds to known, trustworthy platforms when cashing out.
Should you buy XRP on Trust Wallet?
Ultimately, it depends on your goals and risk tolerance. XRP is popular for fast global transfers and, while it faced legal challenges in the U.S., recent court rulings have clarified its regulatory status for now. If you believe in its long-term value or need it for transactions, Trust Wallet indeed offers a simple and secure way to get started. Just make sure to research the market, start small, and only invest what you can afford to lose.
Disclaimer: This article is for informational purposes only and should not be considered investment advice. Always do your own research (DYOR).
