
Due to the rise of layer 2 blockchain scaling solutions, blockchain bridges have become popular in the crypto space. Also referred to as cross-chain bridges, blockchain bridges connect two blockchains, facilitating the transfer of crypto from one chain to another. This guide will explore the Metis bridge and provide step-by-step examples to help you learn how to use Metis bridge.
Want to know more cross-chain transfers options? Join BeInCrypto Trading community on Telegram: ask pro traders about the best crypto solutions and the latest trends, and get the best deals from our most loved crypto platforms! Join now
In this guide:
What is Metis bridge?

The Metis bridge allows tokens to be transferred from the Ethereum layer-1 blockchain (L1) mainnet to the layer-2 (L2) Metis Andromeda network.
Metis is an Ethereum L2 scaling solution that uses Optimistic Rollups. These scaling solutions move computation and state storage off-chain while profiting from Ethereum’s underlying security.
Metis solves Ethereum’s scalability issues by improving transaction speed and throughput. The L2 network also provides low gas fees. Metis hard-forked from Optimism, another L2 network, because its developers believed the roadmap compromised decentralization. Thus, Metis launched on the mainnet in November 2021.
Generally, Metis and other L2 solutions take transactional pressure off of Ethereum, minimizing network congestion and easing transaction fees. L2 protocols send final transaction proofs to Ethereum for recording.
However, unlike other L2s that may display aspects of centralization, Metis proponents consider the project to be more decentralized. This is mainly because it features a community ecosystem governance structure that enables the community to vote on decisions. Voters need METIS tokens to vote.
Metis also features the Metis Virtual Machine (MVM), which is compatible with the Ethereum Virtual Machine (EVM). This makes it easy to deploy Ethereum-based applications on Metis’ virtual machine.
How does Metis bridge work?
Through the Metis bridge, users can transfer tokens such as the Metis token, Tether, USD Coin, Binance USD, Sushi, Link, Aave, Dai, Wrapped Bitcoin, and Ether. Once a user moves any of these tokens to the L2 network, they can use them to interact with any of the DeFi protocols integrated with Metis. These could be decentralized exchanges (DEXs) or stablecoin protocols.
Users can utilize third-party cross-chain bridges in the Metis ecosystem to transfer tokens from other blockchains to Metis and vice versa. The available bridges in the Metis ecosystem include Relay Chain, Synapse Protocol, Multichain, O3labs, PolyNetwork, Celer, and BoringDAO. For instance, you can use Relay Chain to send tokens from Metis to Optimism.
Other than token bridging, Metis also enables the bridging of non-fungible tokens (NFTs). Furthermore, a developer can build a decentralized app (DApp) or a decentralized autonomous company (DAC) on the Metis network. At the time of writing, Metis was airdropping 0.01 METIS tokens to first-time bridge users to facilitate user experience.
How to use Metis bridge?
To use the Metis bridge, you need a MetaMask wallet. If you don’t have one already, you can do this by downloading the MetaMask mobile app or the browser extension. For the first configuration option, use the MetaMask browser extension.
Here are two ways you can configure MetaMask for Metis:
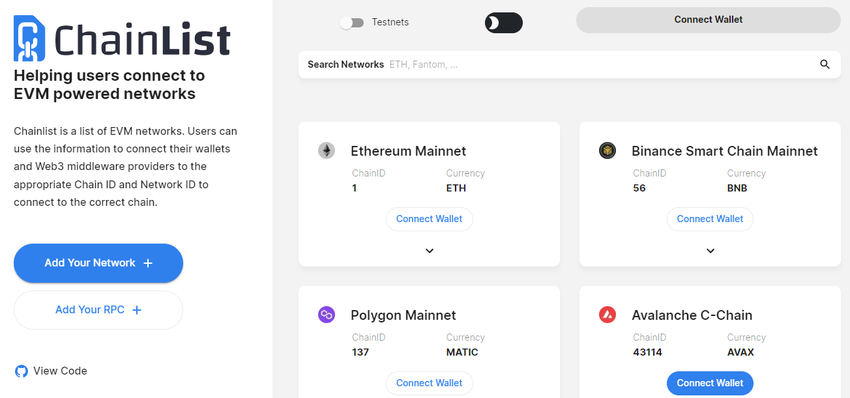
Option 1: Use Chainlist
Chainlist lists EVM networks like Metis and other Ethereum L2s. To use this option, follow these steps:
- Visit the ChainList website.
- Look for Metis in the search bar.
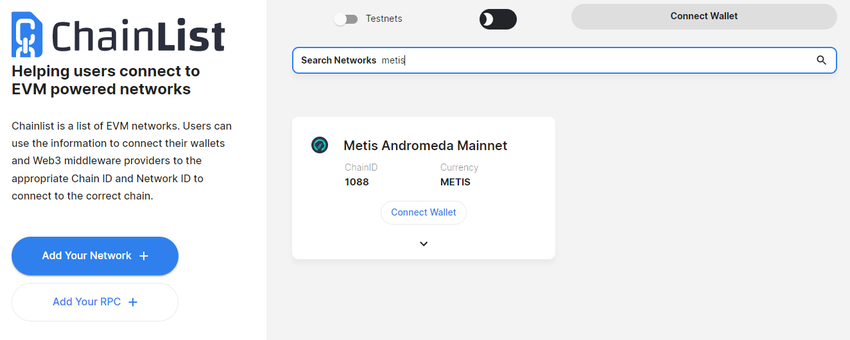
- Select Metis Andromeda Mainnet.
- Click the “Connect Wallet” button.
- Enter the password of your MetaMask wallet to unlock it.
- Next, connect MetaMask to ChainList.
- Once this is done, click the button labeled “Add to MetaMask.”

- Click the “Approve” button on the MetaMask window. This will add the Metis Andromeda Mainnet to your MetaMask wallet browser extension.
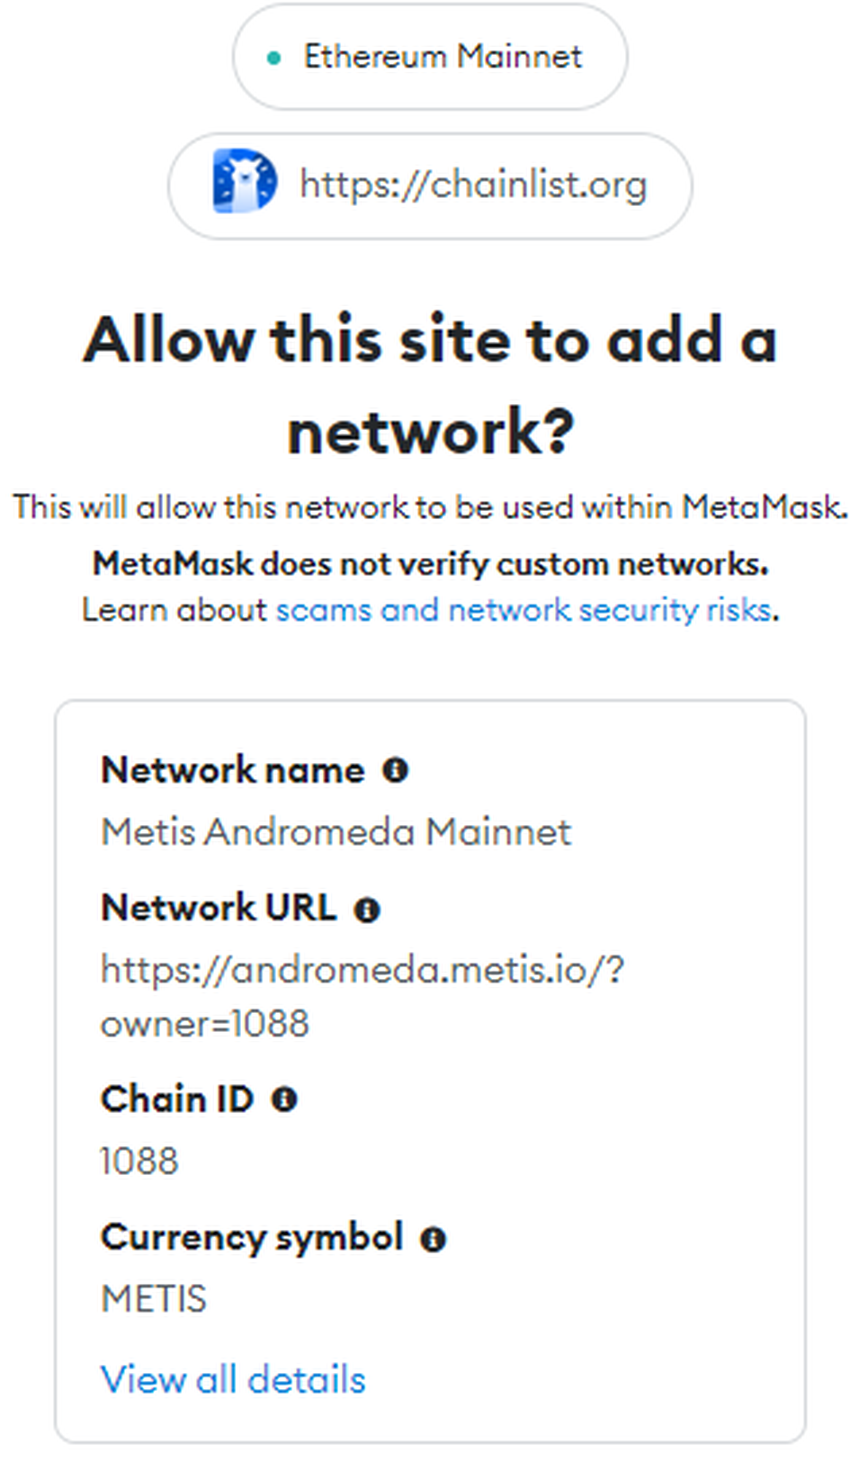
- Thereafter, approve the network switch on the MetaMask window.

- Now you can use the Metis network as you please.
Option 2: Set up manually
If you don’t want to use ChainList, you can manually add the Metis network to your MetaMask wallet. Here’s how you can do it:
- Open the MetaMask wallet on your phone.
- Tap “Wallet” at the top.
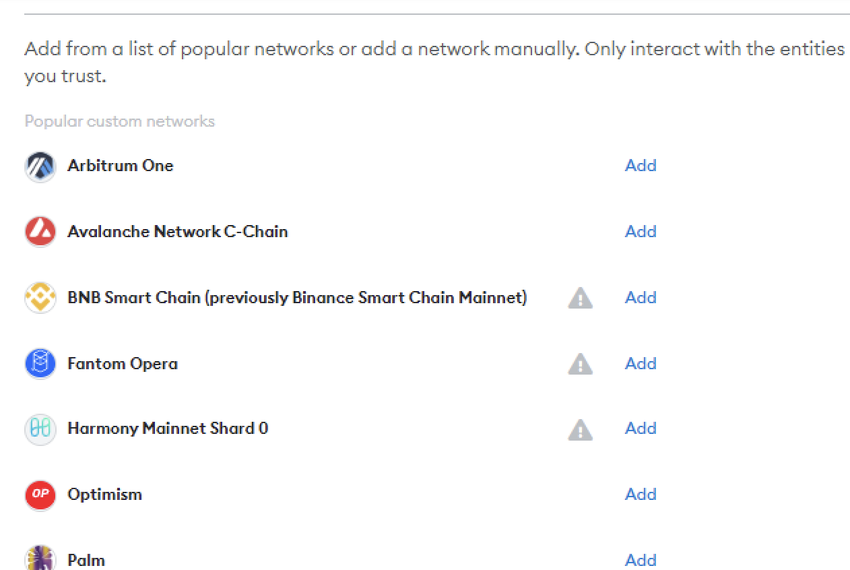
A list of different networks will appear. If Metis isn’t on this default list, tap “Add Network.”
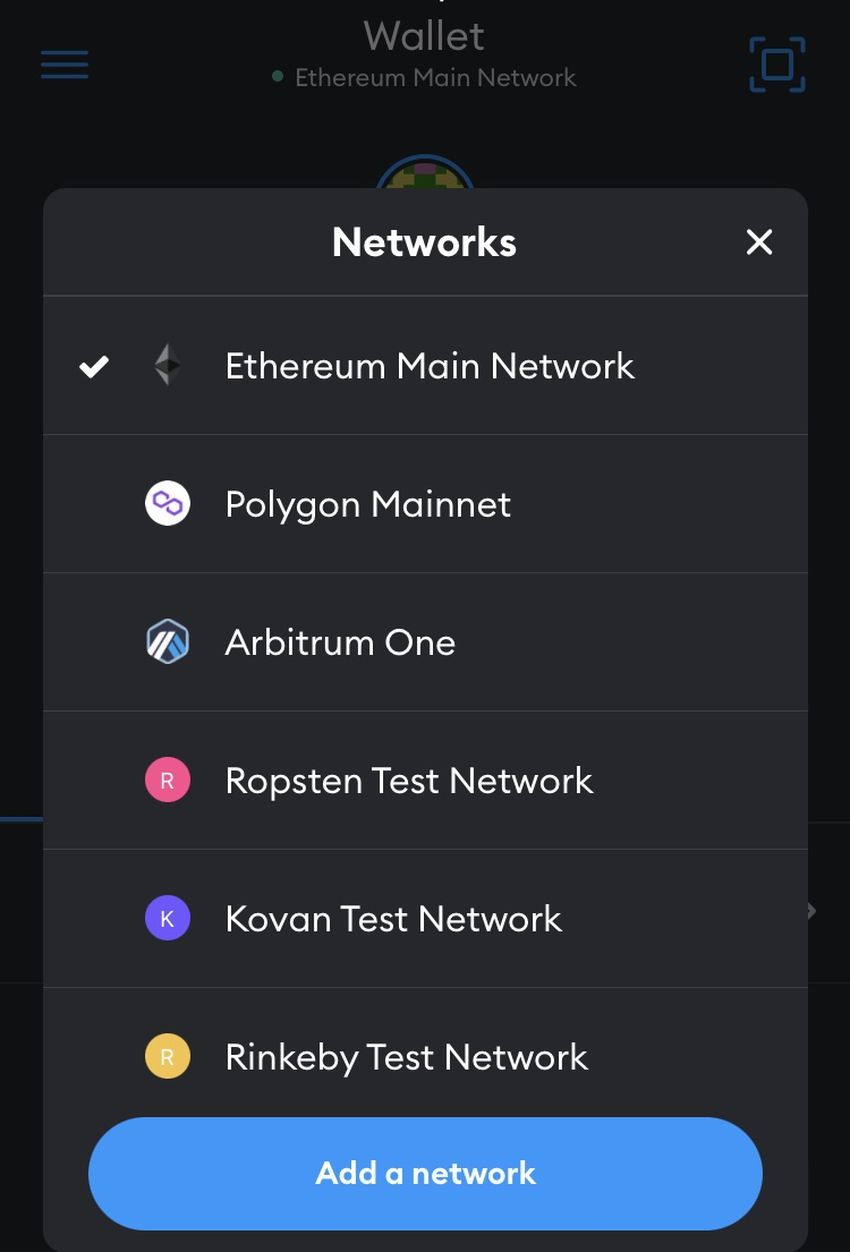
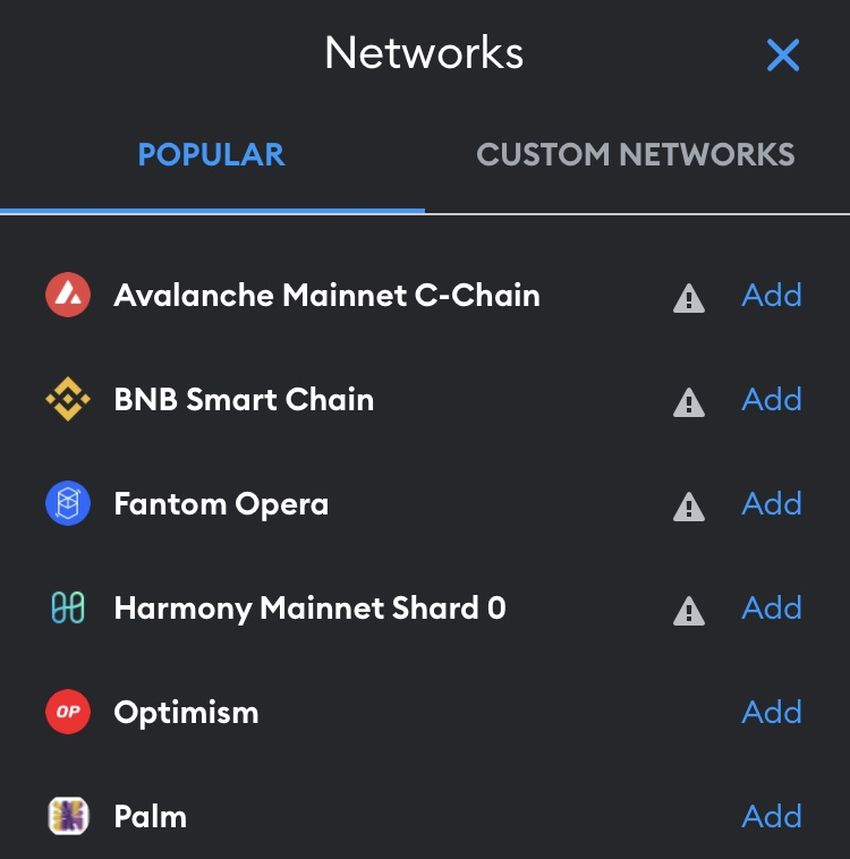
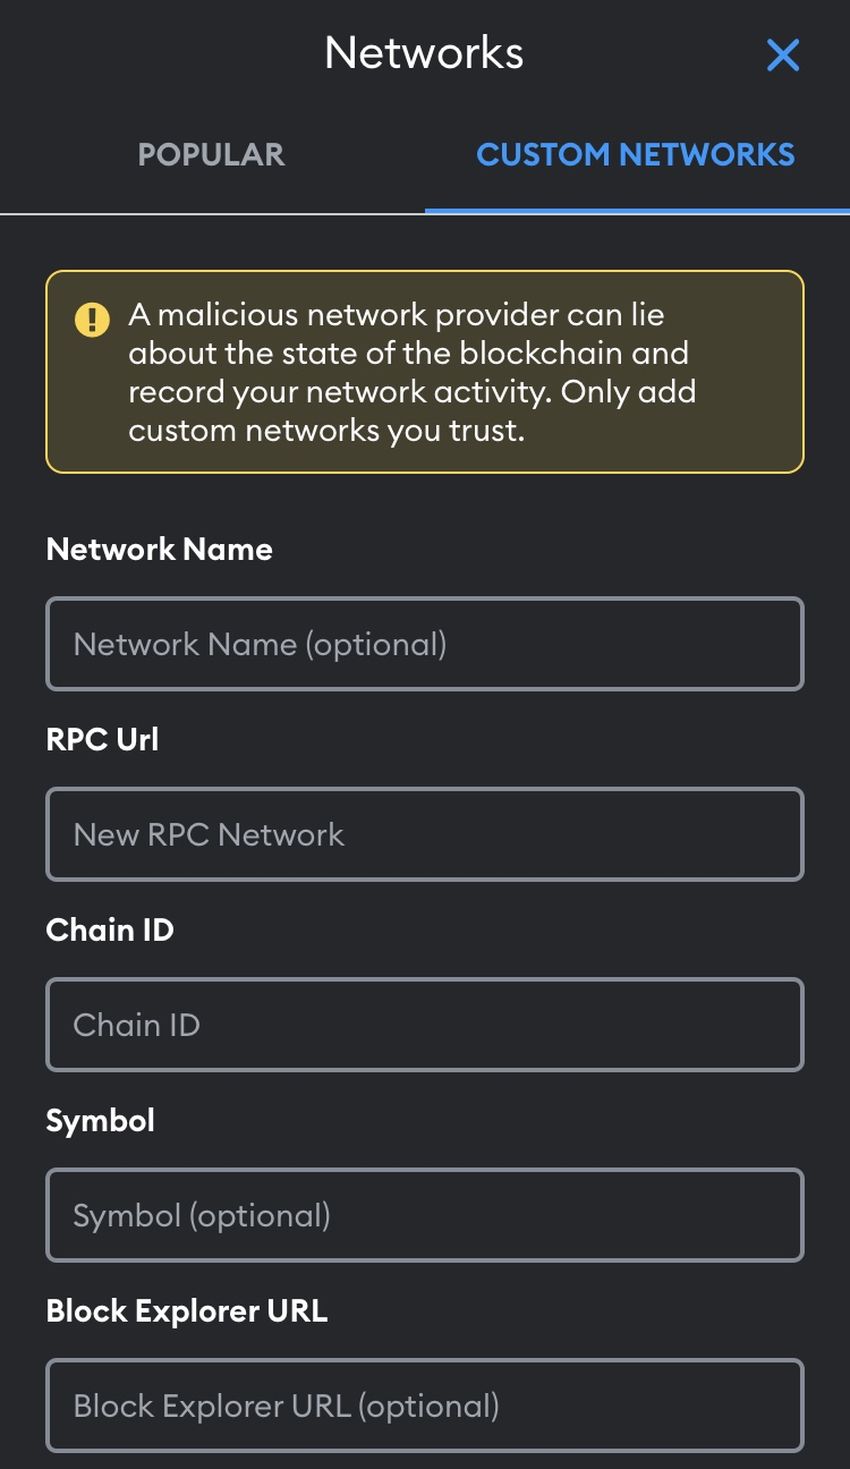
- If Metis isn’t on the default list provided by MetaMask, tap the tab labeled “Custom Networks.”
- Enter the details as shown in the image below and tap “Add.” This will add the Metis network to your MetaMask.
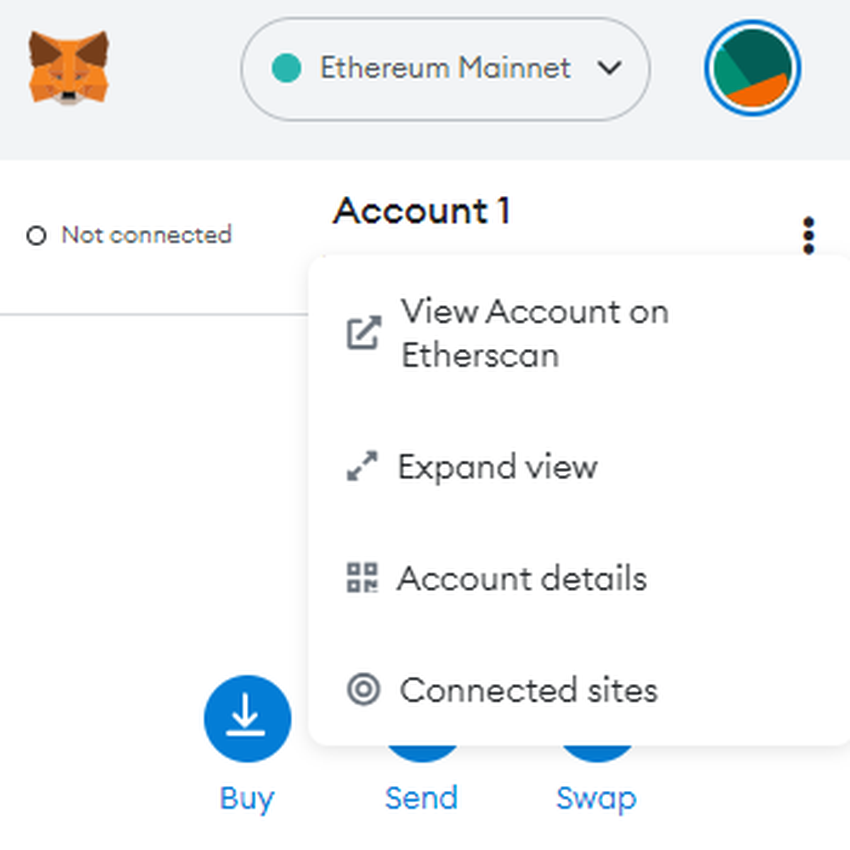
- After this vital step, you can easily disconnect ChainList from your MetaMask. Click the three dots on the right-hand side of the browser extension wallet. Next, choose “Connected Sites” and then disconnect ChainList permanently.
How to bridge from Ethereum to Andromeda mainnet
Now you have added the Metis network to your MetaMask wallet, you can bridge tokens from Ethereum’s base layer to Andromeda’s layer-2. Here’s how to use the Metis bridge to complete this bridge:
- Go to the Metis bridge website.
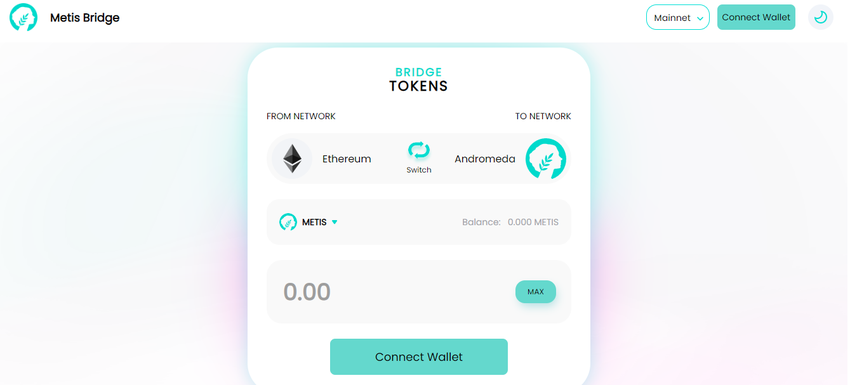
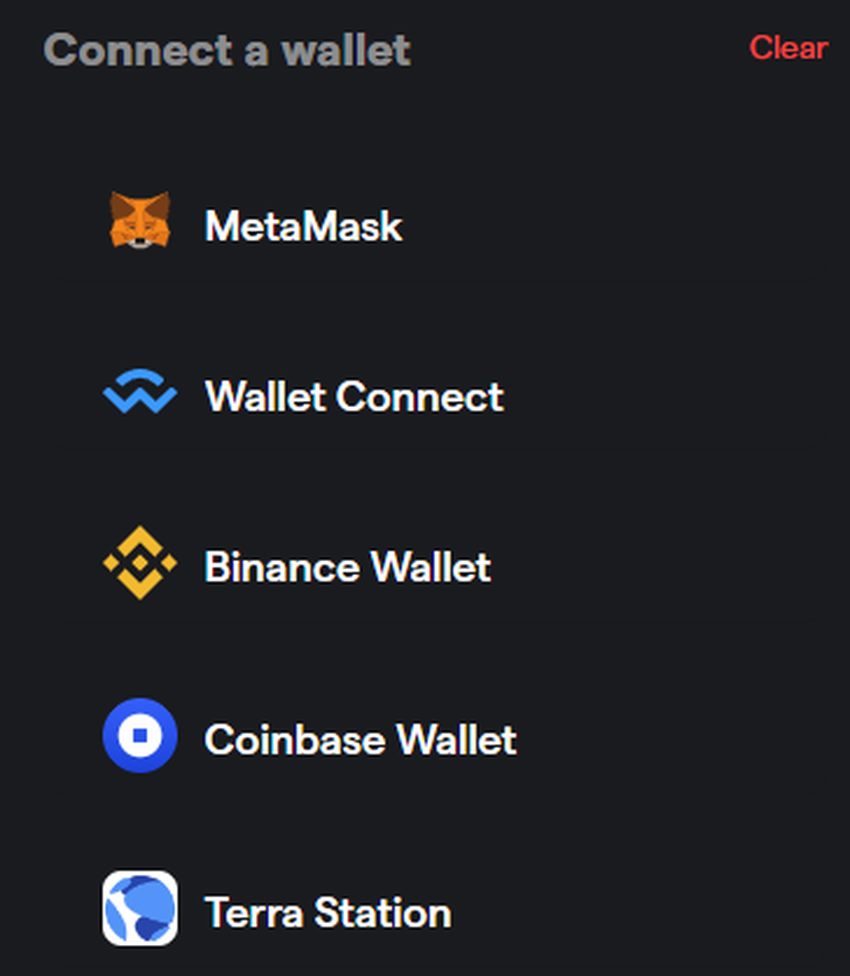
- Connect your MetaMask wallet. The wallet should have the coins you want to bridge at its disposal. Also, ensure the switch is from Ethereum to Andromeda.
- Select the coin you want to bridge from the drop-down menu.
- Type in the amount.
- Click “Confirm” and wait for the coins to hit your wallet.
- Switch the network to Metis on MetaMask to view the coins.
How to bridge from BNB Chain to Metis
You can also use the PolyNetwork to bridge tokens to Metis. That’s because the bridge is integrated into the Metis ecosystem, as previously mentioned. Below are the steps you can follow to bridge from Binance Smart Chain, now called BNB Chain, to Metis.
- Visit the PolyBridge website.
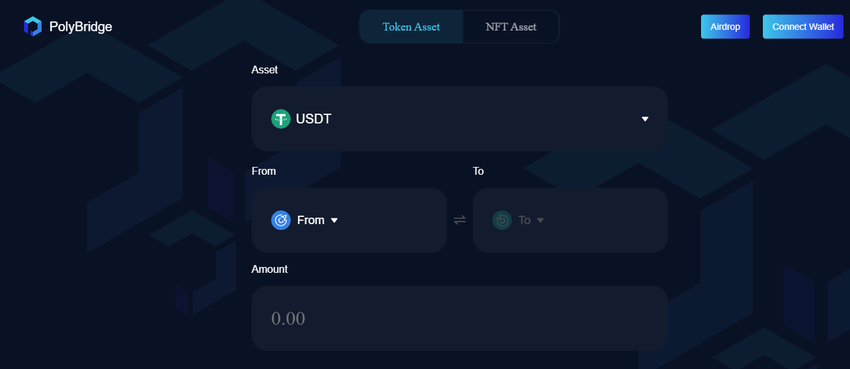
- Connect your MetaMask wallet.
- To bridge from BNB Chain, you need to have added this network to your MetaMask. Moreover, you should have coins on this network. For instance, if you want to bridge BUSD, you should have this stablecoin sitting in your wallet on the BNB Chain network.
- Next, pick the asset you want to bridge from the drop-down menu. Choose BNB for the field labeled “From” and Metis for the field labeled “To.”
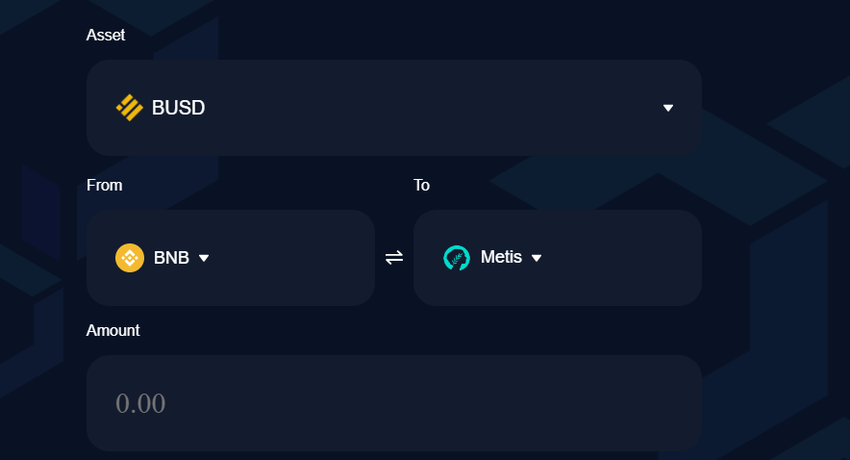
- Enter the specific amount you want to transfer. Check that you have enough BNB in your MetaMask to pay transaction fees. Also, you need a decent amount of BUSD to make the transfer.
- Confirm the transaction and wait for BUSD to land in your MetaMask wallet. Switch to Metis Andromeda Mainnet to view your BUSD.
How to bridge from ETH to METIS
Metis has integrated the Synapse Protocol into its ecosystem. That means you can bridge from Ethereum to Metis using Synapse. Here’s the step-by-step process:
- Open the Synapse website in your browser.
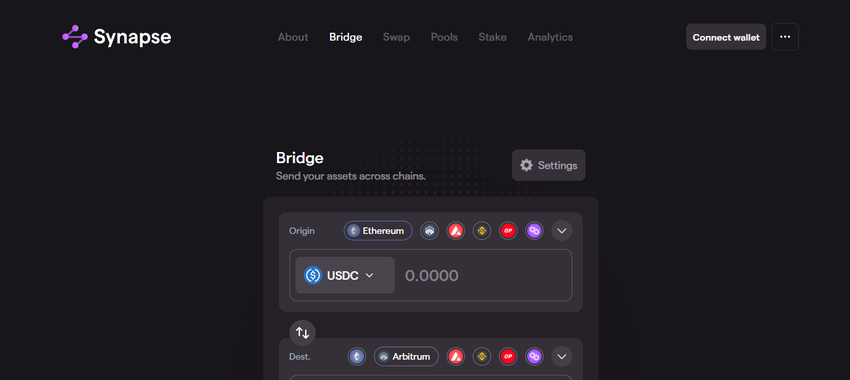
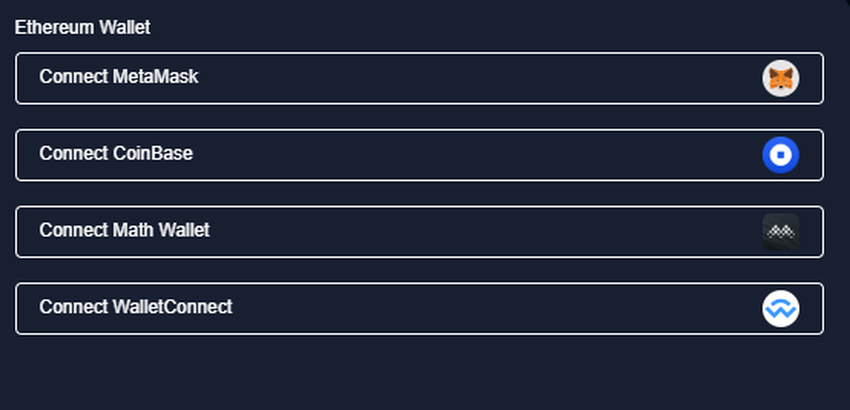
- Connect your MetaMask wallet. Confirm that the current network within the wallet is Ethereum.
- Choose the coin you want to bridge. For example, you can bridge USD Coin (USDC).
- Select Ethereum as the origin network and Metis as the destination network.
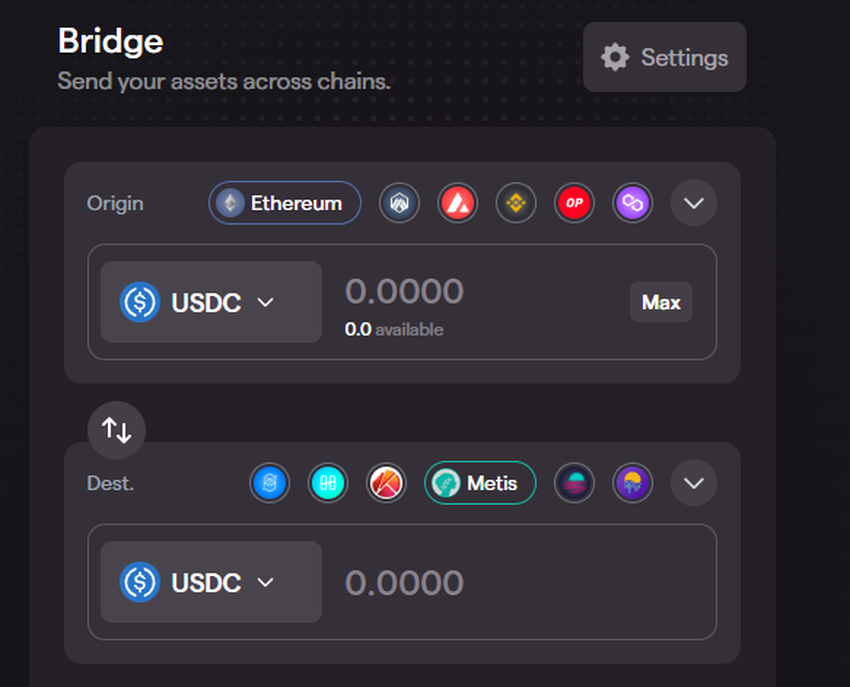
- Type in the amount, taking into consideration the transaction fees and the minimum amount you are able to transfer.
- Confirm the transaction and wait for USDC to hit your MetaMask. Switch to Metis Andromeda Mainnet to see your coins.
How to bridge from Polygon to METIS
What if you want to transfer tokens from the Polygon network to Metis? Here’s the procedure using Synapse:
- Open the Synapse website.
- Switch the network to Polygon on your MetaMask wallet. Ensure you have the coins you want to transfer before you start the bridging process. Let’s say you want to bridge USDC, for instance.
- Choose Polygon as the origin network and Metis as the destination.
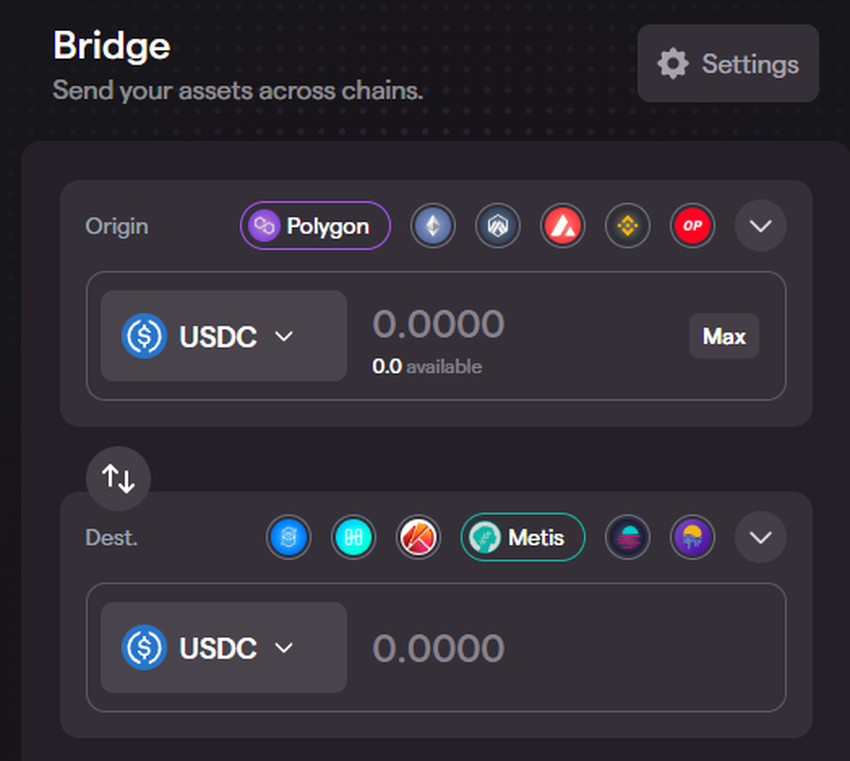
- Enter the specific amount taking into account the transaction fees and the minimum number of coins you can transfer.
- Complete the transaction and wait for the coins to reflect in your wallet. Change the network to Metis to view the transferred USDC.
Metis bridge is fast, secure, and straightforward
As an Ethereum L2 scaling solution, the Metis bridge offers faster transaction speeds and lower gas fees. Although Metis takes the pressure off the Ethereum network, all transactions are sent back to the Ethereum blockchain for recording. This ensures Metis transactions benefit from Ethereum’s base layer security.
Based on these examples of how to use Metis Bridge, it’s clear that bridging tokens to Metis is pretty straightforward. However, it’s important to always confirm that the Metis Andromeda network supports the token you want to transfer. Additionally, make sure you get a good understanding of the fees you need to pay to bridge tokens to Andromeda. Finally, always check that you have switched to the correct network on MetaMask before bridging. Happy bridging!
